关于微信小程序滚动视图容器的实现方法
这篇文章主要介绍了微信小程序之滚动视图容器的实现方法的相关资料,希望通过本文能帮助到大家,让大家掌握这部分内容,需要的朋友可以参考下
微信小程序之滚动视图容器的实现方法
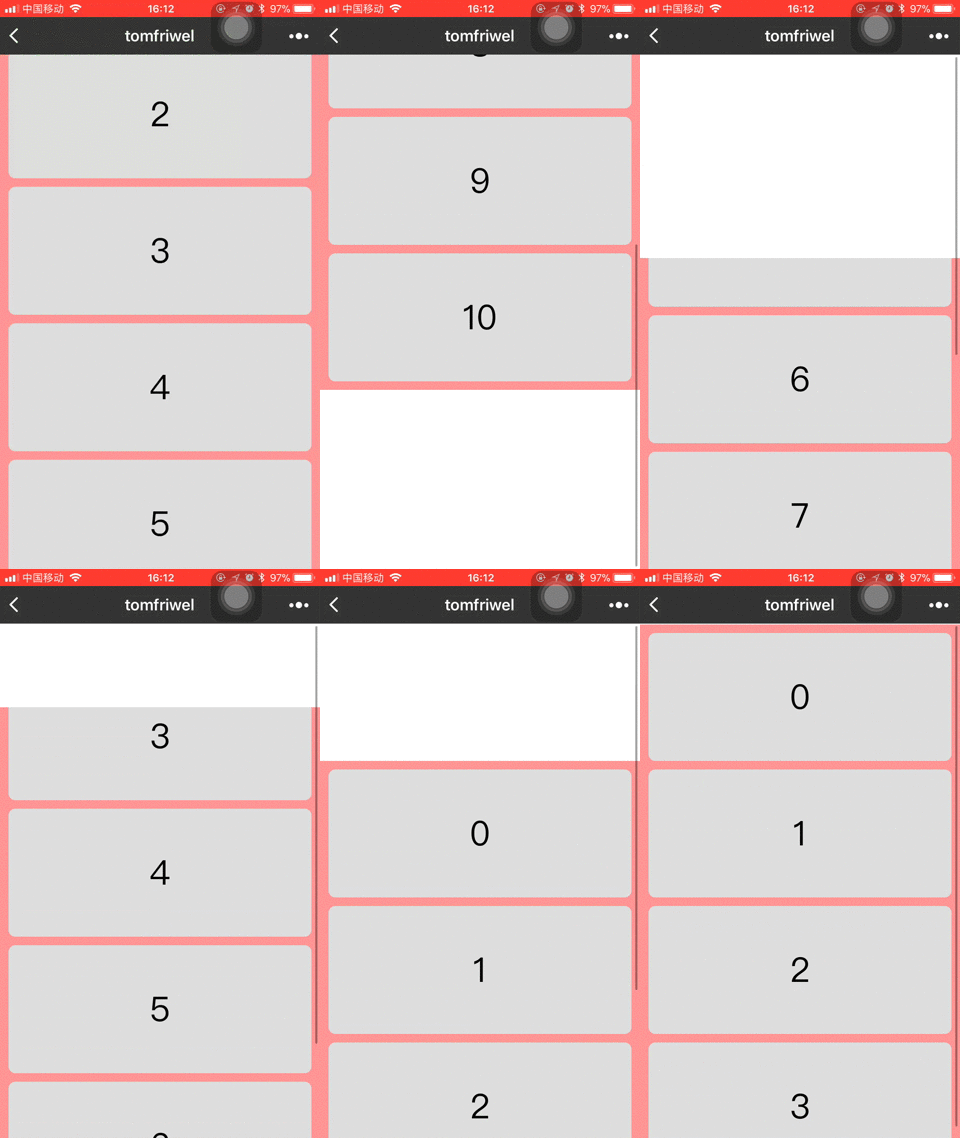
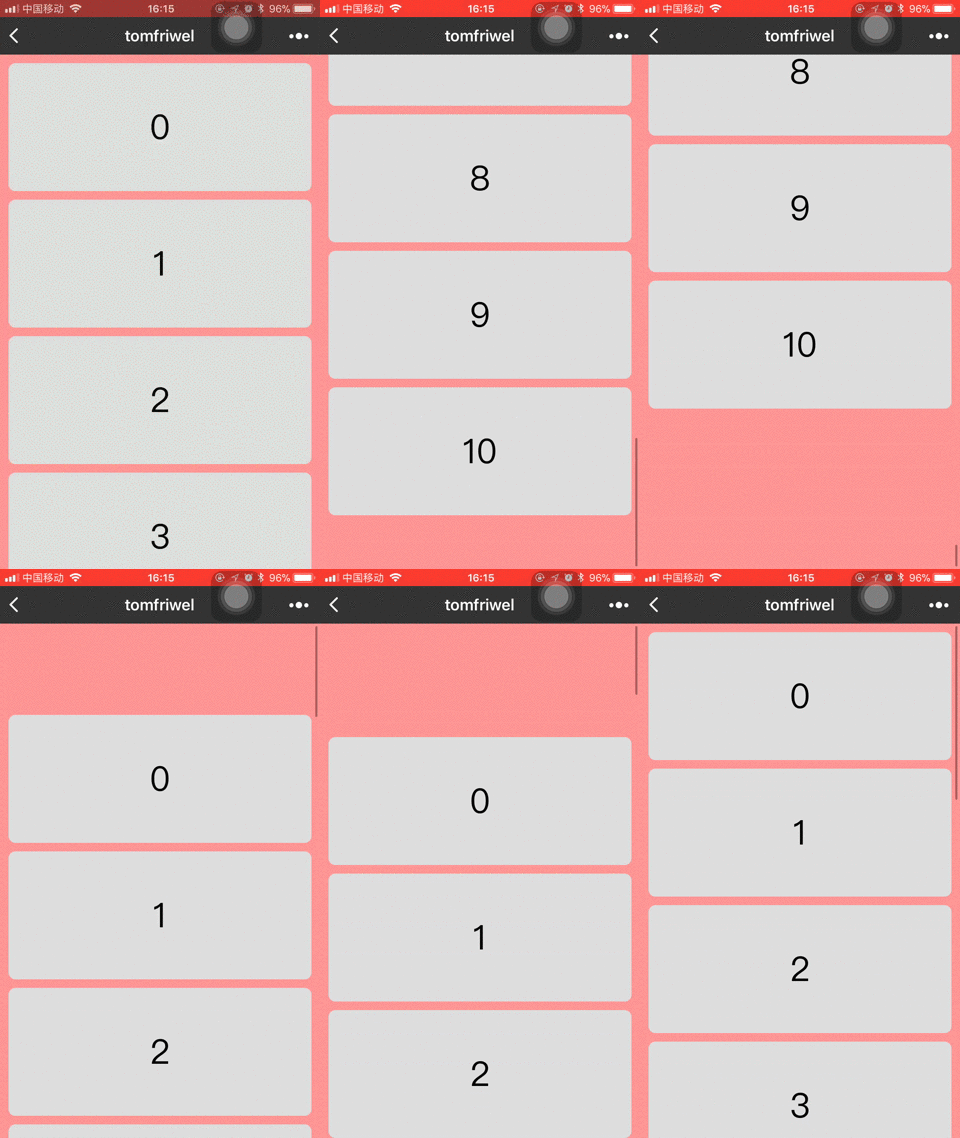
直接上两种方案代码以及效果图:
方案1
这种方案是直接使用view,并设置overflow: scroll
wxml: <view>wxss:
.container {position: absolute;left: 0;top: 0;width: 100%;height: 100vh;overflow: scroll;padding-bottom: 20rpx;background: #FD9494;}.content {margin: 20rpx auto 0 auto;width: 710rpx;height: 300rpx;background: #ddd;border-radius: 16rpx;font-size: 80rpx;line-height: 300rpx;text-align: center;}
效果图:

方案2
使用scroll-view + container作为容器
wxml:
<scroll-view>wxss:
.main_container {position: relative;width: 750rpx;height: 100vh;background: #FD9494;} .container {position: absolute; /*使用absolute的原因是因为为了防止第一个子视图有margin-top时,造成顶部留白的情况*/left: 0;top: 0;width: 100%;padding-bottom: 20rpx;} .content {margin: 20rpx auto 0 auto;width: 710rpx;height: 300rpx;background: #ddd;border-radius: 16rpx;font-size: 80rpx;line-height: 300rpx;text-align: center;}
效果图:

对比结果:
因为iPhone上滚动会带有弹簧效果,所以方案1在滚动时会出现不流畅的现象。方案2就不会出现这种情况,而且滚动也是流畅的。
以上就是本文的全部内容,希望对大家的学习有所帮助,更多相关内容请关注PHP中文网!
相关推荐:
关于微信小程序中欢迎页面的制作
微信小程序中滚动消息通知的实现
以上就是关于微信小程序滚动视图容器的实现方法的详细内容,更多请关注小潘博客其它相关文章!


