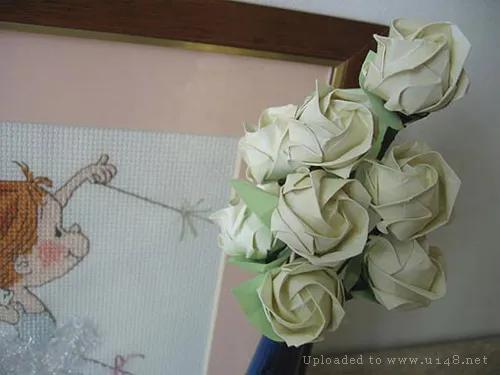
如何折纸玫瑰(贝利尔玫瑰教程)
折一朵送给女友、男友和亲朋,他们应该会感受到你的真心切意的。
当然也可以运用魔术手法 变出来献给你的那位 效果相信会很好!

纸玫瑰,想必大家都见到过。但是它的折法却错综复杂,实在是很不容易学会。今天给大家介绍一个非常详细的制作方法,只要慢慢得跟着做,保证你能学会。这样,男孩子又学到了一招来哄女孩子啦……另外,由于图的数量巨多,所以请您先做好心里准备,慢慢等待。
说明:折好纸玫瑰,要很多的准备折痕,需要将纸翻来覆去的对折,以下是详细的图解。
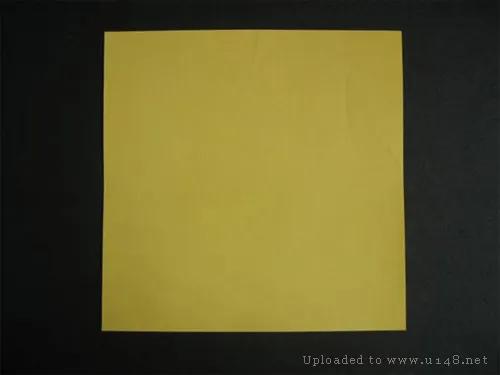
取一张正方形的纸
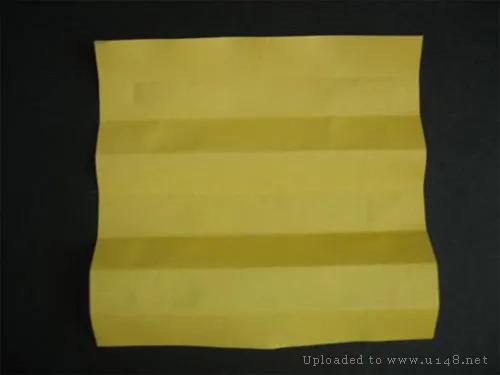
横向对折,折好的每边再对折,再对折1次,纸上留下横向的折痕共7道
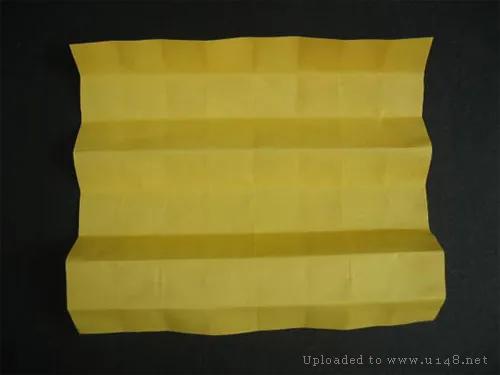
纵向对折,折好的每边再对折,再对折1次,纸上留下纵向的折痕共7道
展开纸,对角折
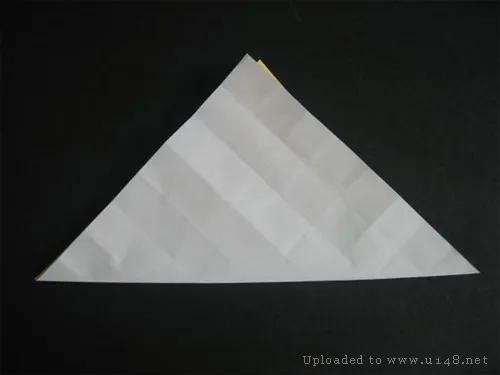
打开以后,留下折痕如上
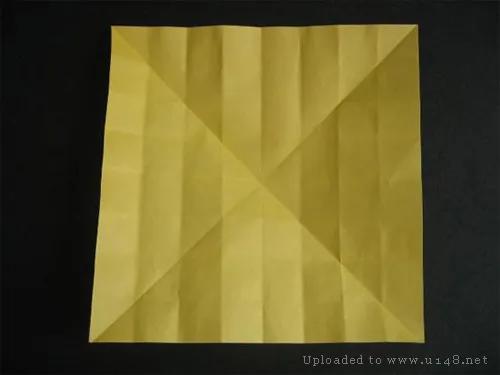
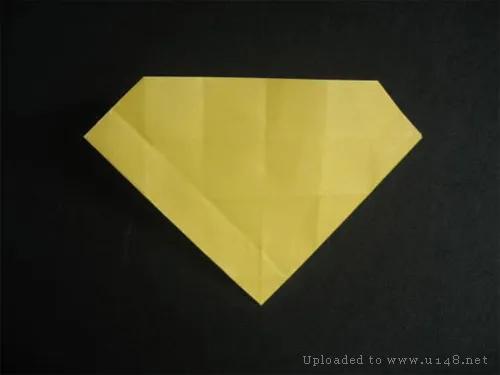
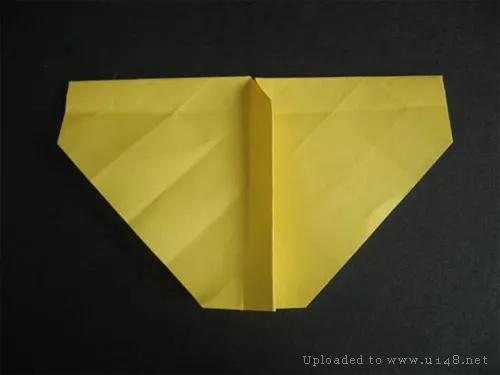
四边角折起沿一条对角线对折
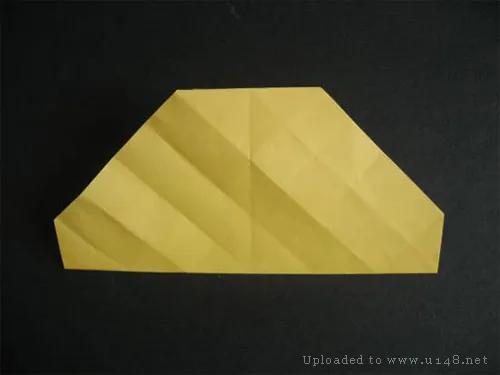
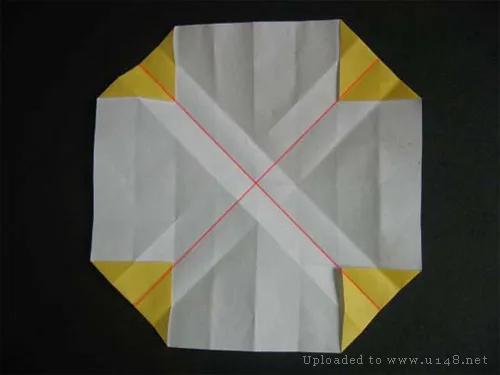
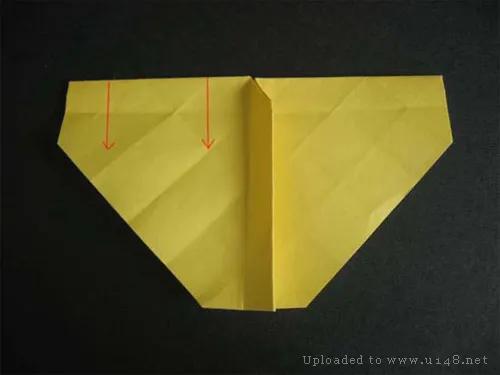
找到对角线上方最近的那条由横向、纵向折痕交叉点连成的线,向上折起

另一个对角线也同上一个步骤,折一条折痕
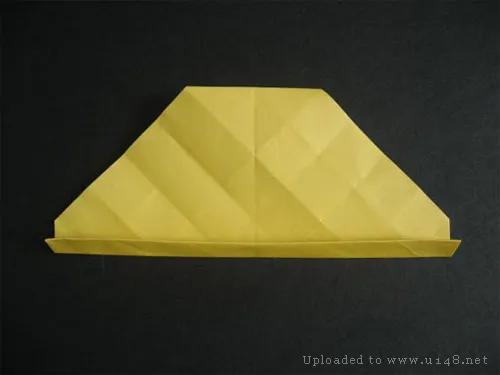
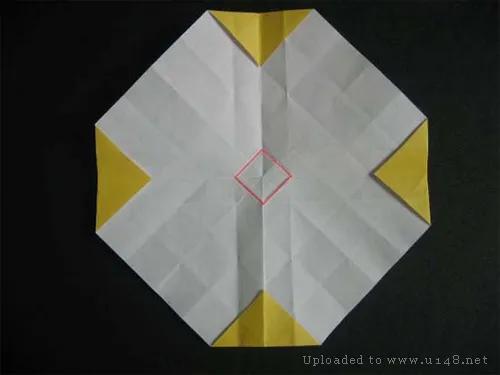
打开如上图,然后再沿对角线(图示的红色线)折起
最基本的步骤
按这条红色线(最下面的小方块的对角线)位置折起
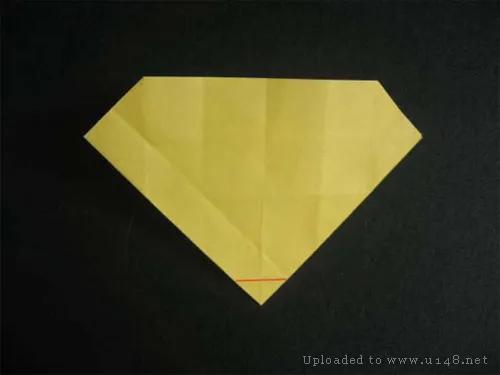
最基本的步骤
再将纸展开
最基本的步骤
将纸翻转
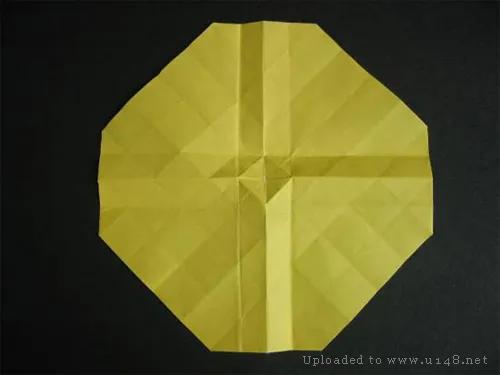
将4条对角线捏起,上图是俯视看到的效果
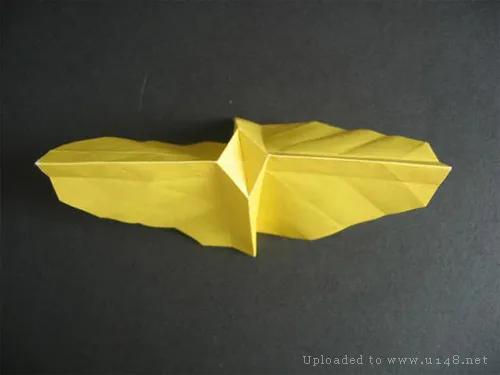
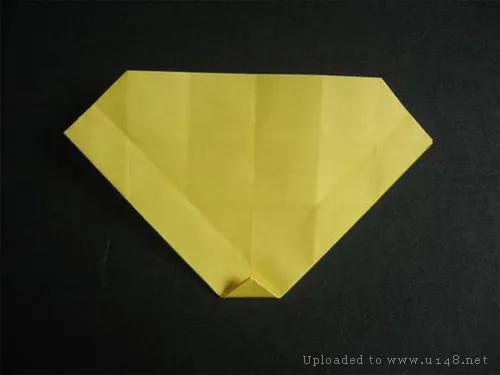
将折纸向内对折,对折的同时将顶部的四方形沿其对角线向下压折
将折纸折成这样,上下的纸必须向相反的方向折去
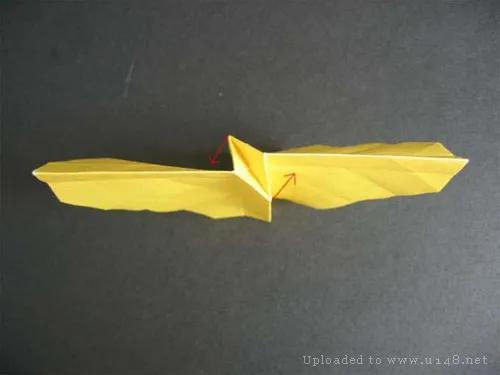
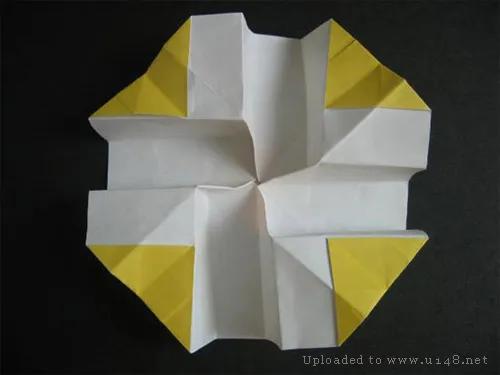
将折纸平放就变成这图了
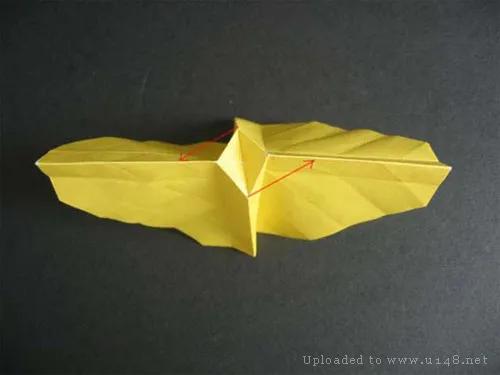
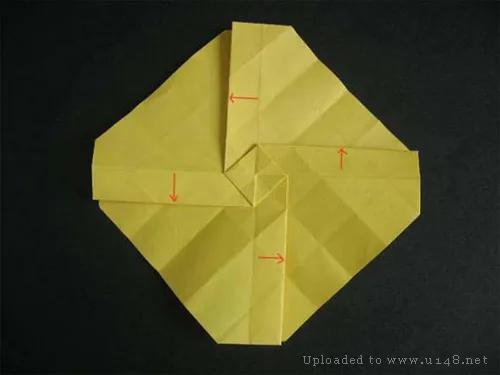
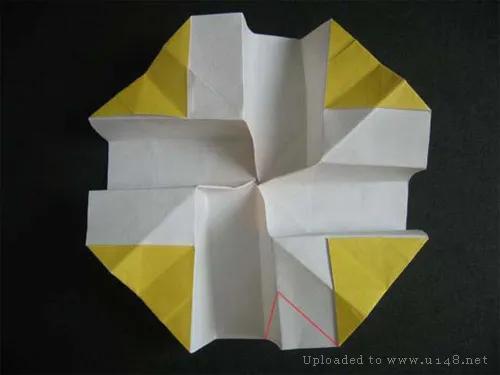
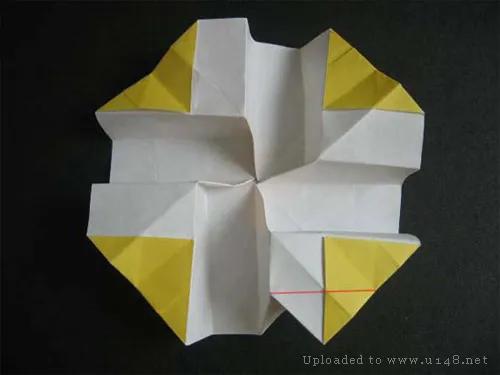
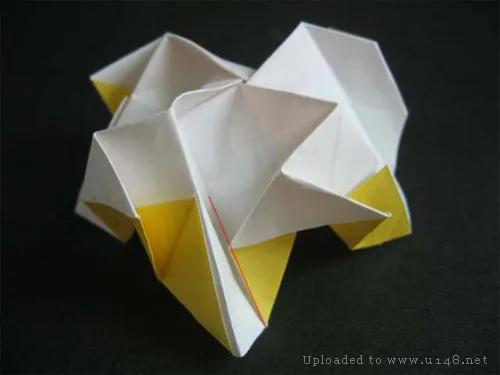
把折纸压平,根据红线将左上方的折纸向下折
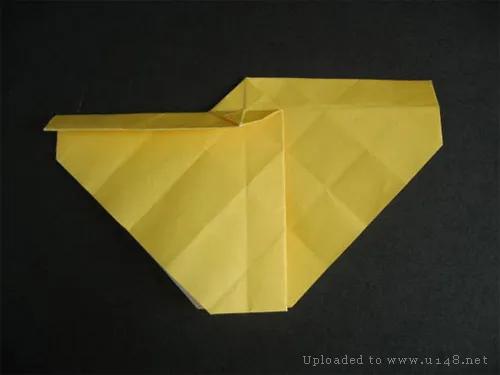
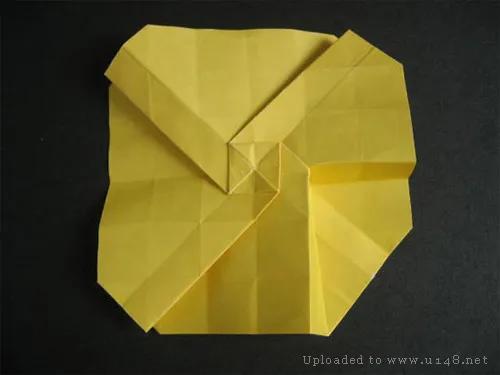
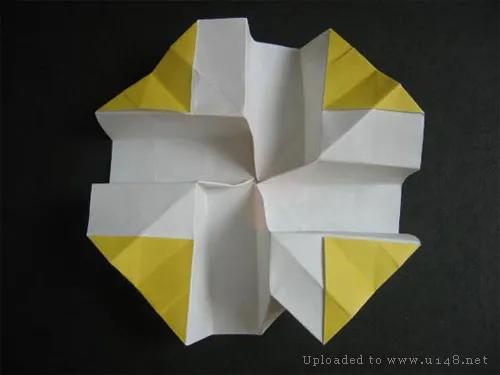
好,再把后面的半边从后面撑开,就形成上面的样子了

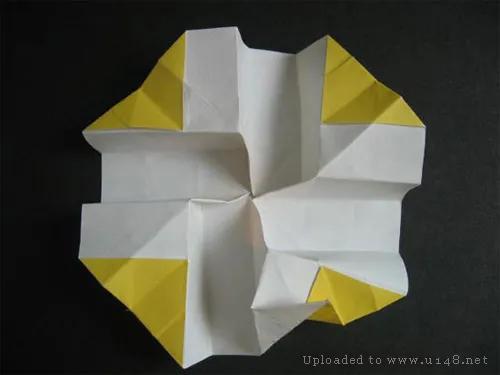
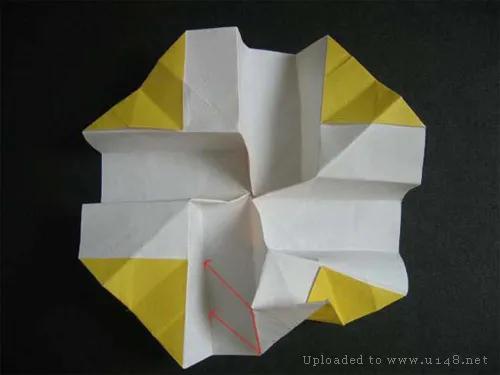
然后折纸的下方翻出就可以看到上面的图了。要注意折完后看上去像风车就对了
按照红色的线指示,分别向下折叠

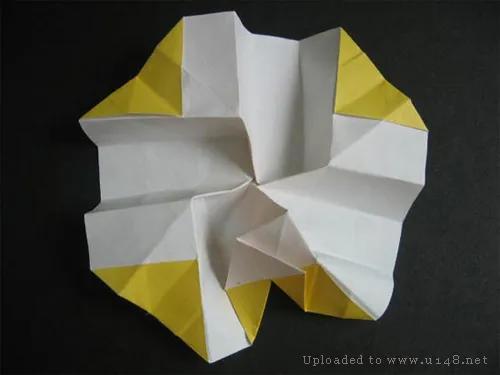
按红线将折纸向下翻出
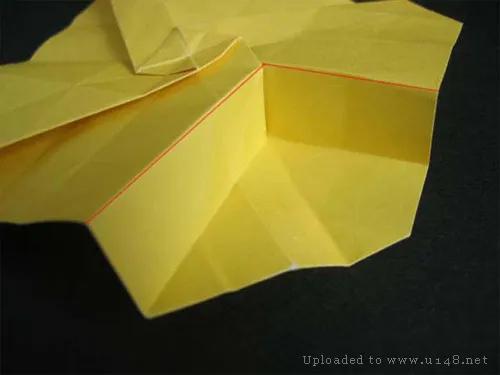
来个侧照,希望大家更明白
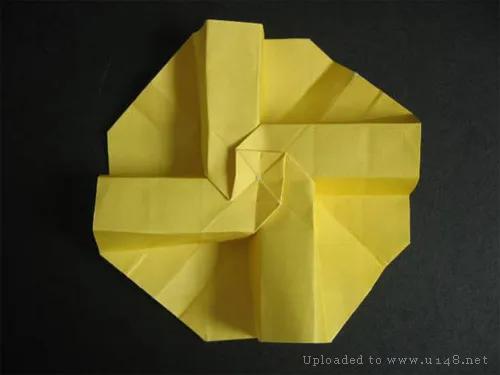
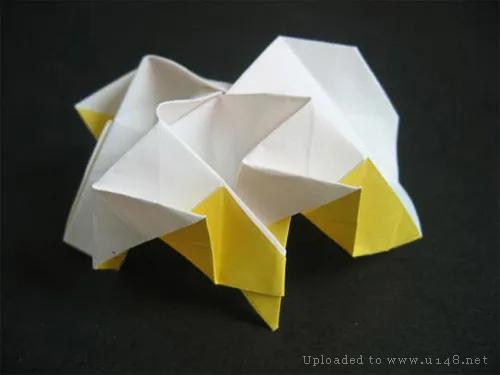
四边都完成后的样子。这个步骤要耐心学习哦!不是很容易的
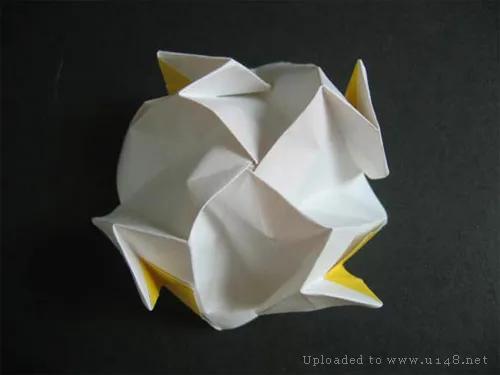
折纸翻过来的样子
按红线所示向后折出两个小三角
按红线所示将小三角向右上折去
再来按红线所示向左边折去
四边都折好的样子
这是折好后四支脚的其中一个近照
按红线所示将折纸对折再向后折
四个都折好后
四个都折好后的侧图
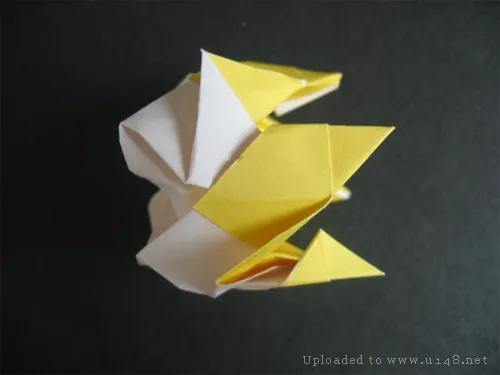
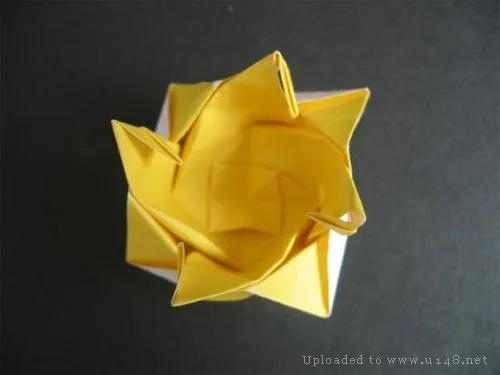
从花花的上方看
这是花的下方
接着将其中一支脚向内折
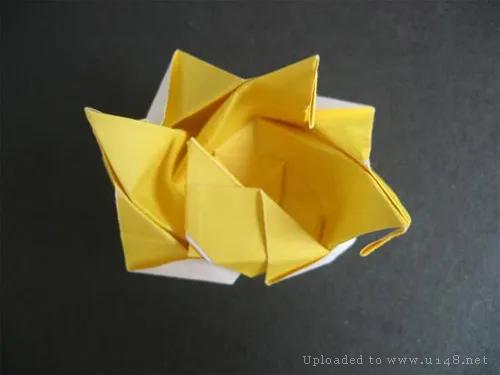
第二只脚
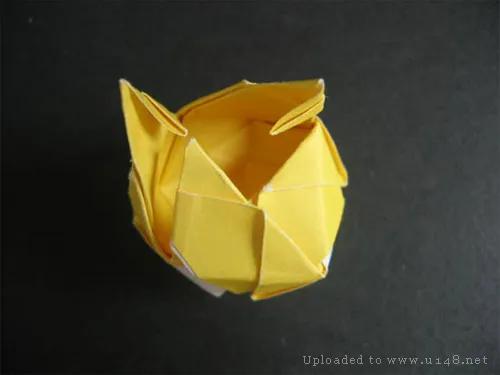
第三只脚
第四只脚
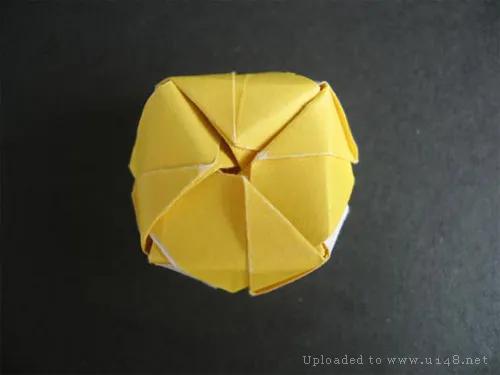
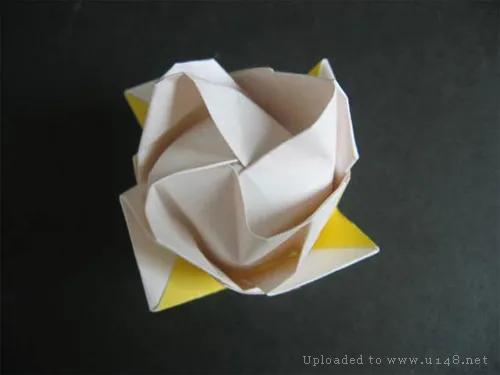
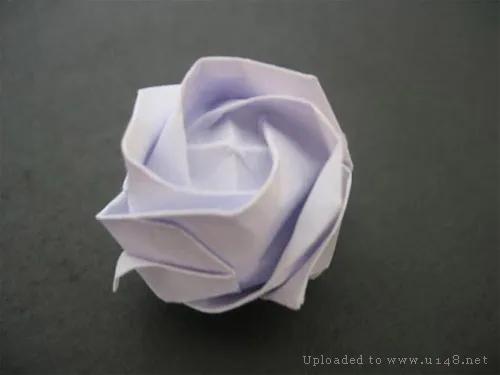
将四片花瓣轻轻向外拉,露出花芯
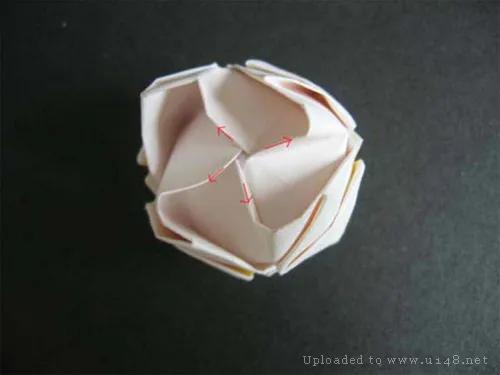
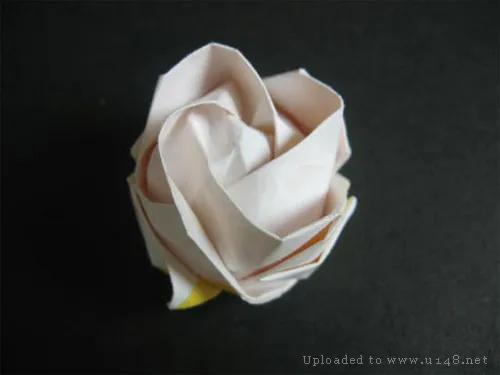
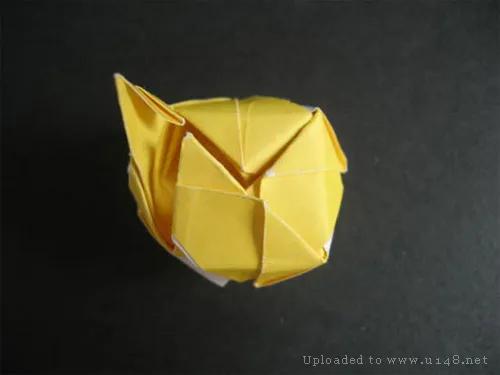
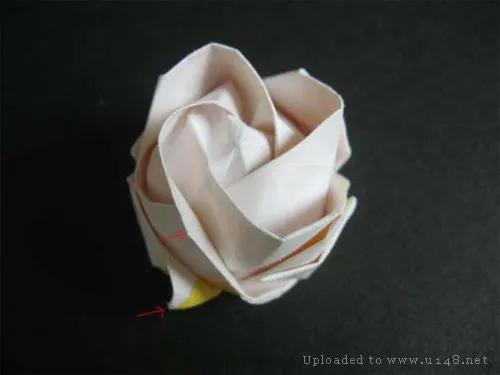
轻轻按压花瓣的边缘,令花瓣的外端产生一定的弧度,好像是真的花瓣那样
为了让花看起来更漂亮,大家可以多试试不同的纸,因为纸张太厚或太薄都会影响花折好后的样子。
花花的最后一个步骤就是将花瓣做适当的修饰,令它们看上去更自然和漂亮。当然加上枝叶后放入花瓶就更漂亮了!以下介绍如何为花花加上枝叶!
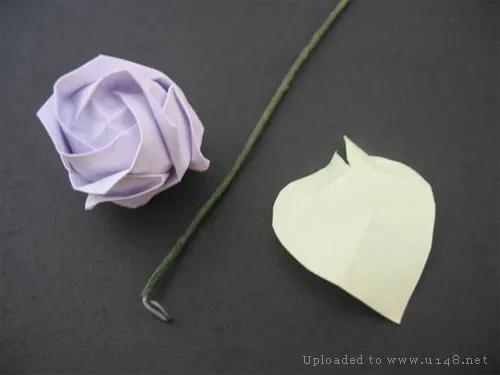
这些是要准备的材料。大家可以直接在文具店里买用来做花枝的铁线,如果家里已有铁线,也可以在文具店买绿色的黏贴纸(这也是制作花类的必须品),将铁线包裹起来,效果一样!铁线的顶端打上个圈,有助固定铁线在花里面:
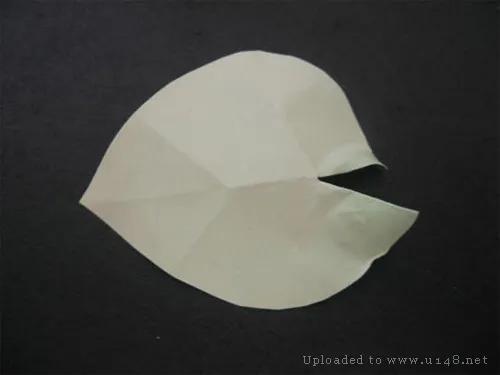
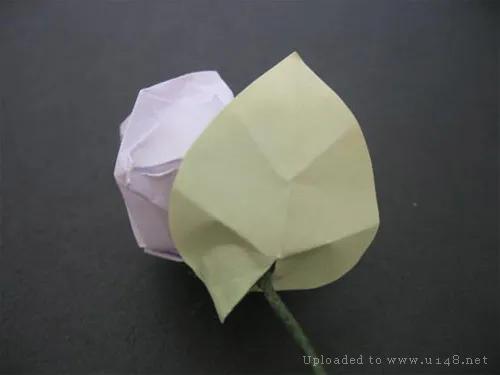
叶子的制作很简单,随便剪个叶形的绿色纸,在折出叶脉,就可以了!
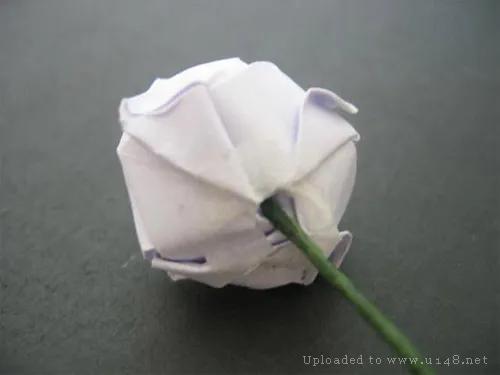
将铁线插入花的底部,并在花的底部贴上一些双面胶纸。
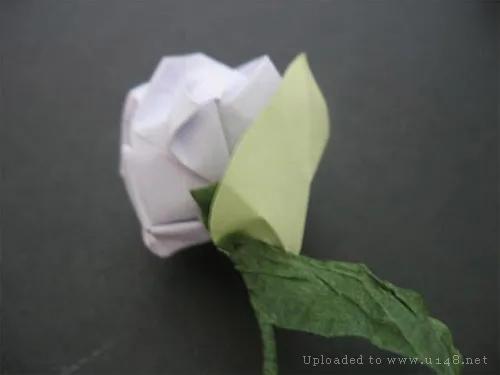
将绿色的黏贴纸绕着铁线,将花和枝黏贴在一起。虽然绿色的黏贴纸有一定的黏性,不过如果觉得黏性不够,还可以用双面胶纸来帮忙。这就是为什么我在上一步时要在花的底部贴上一些双面胶纸。
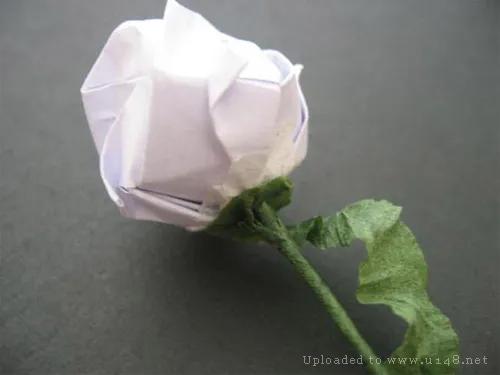
固定好花后就可以加上叶子。
将花、枝、叶三者黏好后的样子。
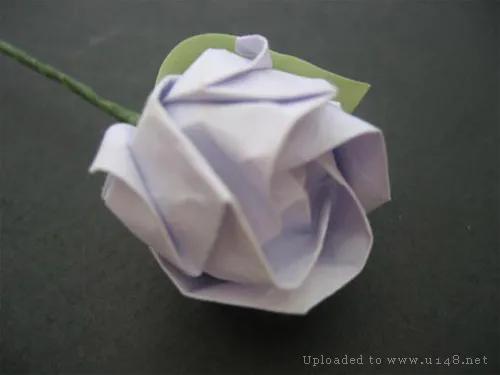
这是正面看去的样子。
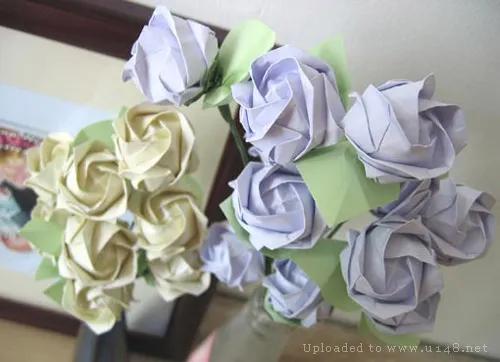
这是制作好的玫瑰花,是不是很漂亮!如果把纸换成红色的,就是一束漂亮的红玫瑰了!